
Fresh rooms begin overhead, because ceilings shape every glance and set the mood. When a dated texture still shadows the room, a focused weekend plan restores clarity fast. Test for asbestos first, gather basic tools, and protect every surface with tight tape. Work section by section to limit mess and stress, and turn off HVAC. Handle your popcorn ceiling with care, and light returns, making the whole place feel new.
What a popcorn ceiling means for upkeep
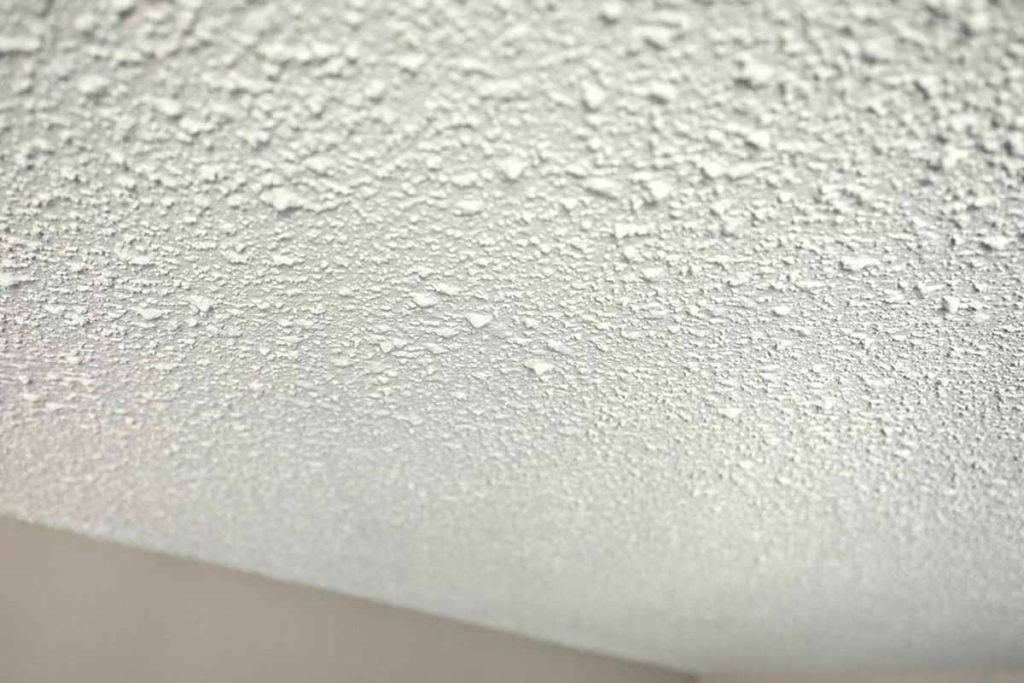
Once popular, the heavy texture now dates a room, absorbs light, and collects dust. Corners gather cobwebs, so cleaning takes longer and never looks crisp. Older homes often still have this popcorn ceiling. It makes spaces feel lower and tired, even when walls and floors stay spotless throughout.
Before any work, confirm the surface is asbestos-free with a safe test. If asbestos appears, stop and bring a licensed professional. This step matters because fibers harm lungs, and a do-it-yourself scrape spreads dust. Health beats speed, and the fix should never risk your family.
If tests clear, plan a weekend. Make a tidy supply list, map the room, and schedule breaks. Short sessions protect shoulders and patience, while a simple checklist keeps progress steady. Because prep decides results, you protect floors early and set up a clean landing for debris everywhere.
Tools, prep, and safety for a clean start
Gather a ladder, drywall knife, and a floor blade scraper for steady control. Cover floors with paper or plastic sheeting, and tape edges tight to form a catch-all. Set out painter’s tape, trash bags, and a shop vacuum, because dust arrives fast and lingers in corners.
Wear a protective mask, safety goggles, and a disposable jumpsuit, or old clothes you can toss. Turn off heating and air conditioning to stop airflow from spreading dust. Clear furniture, then stage tools near the door, since clear paths make steps safer and clean-up faster overall.
Many homeowners like a pump sprayer for even misting; some use a hose with a container. Work in small sections, because short bursts reduce fatigue and keep focus sharp. Plan where each bag of debris will go, and track progress on tape. The plan keeps your popcorn ceiling project calm.
Scraping for painted versus unpainted texture
If the texture was never painted, you likely win on speed. Mist the ceiling evenly, wait a few minutes, then scrape the softened peaks with steady strokes. Because water loosens the bond, the surface releases cleanly. The room brightens fast and the work feels manageable for careful hands.
Painted fields require patience and three levels of scraping. Start dry to break the seal, then mist and let water sit several minutes, repeating when layers run deep. After those passes, mist again and wait 10 or more minutes. Water soaks in before the final controlled scrape toward smoothness.
Keep protective paper firmly taped, because damp material drops in clumps once it releases. Hold the shop vacuum nearby, yet avoid the ceiling until debris lands on the catch-all. Step by step, you prevent gouges and keep a strong base for paint and a popcorn ceiling-free result.
Cleanup and finishes for a popcorn ceiling
Tape floor protection tightly along every wall, because edges leak first when water runs. As you scrape, fold sheets inward to trap debris, then bag waste before stepping off the drop area. Rooms stay usable when you finish one zone, pause, and reset supplies, so dust never spreads anywhere.
After scraping, check for small ridges and tool marks. Feather joint compound where needed, let it dry, then sand lightly with a pole sander or sponge. When the surface feels even, roll a quality primer. It seals pores and reveals flaws that sanding fixes before color coats.
Many owners repaint with flat white for a modern, bright ceiling. Others choose a soft color and low-sheen paint to hide minor waves from repairs. Either way, a careful prime and paint transform the room faster than new drywall. Your popcorn ceiling removal keeps budgets in check.
Alternatives when scraping is not practical
Scraping is not the only path. Some homeowners cover texture with fresh drywall and insulation for sound control, though seams need finishing. Others choose lightweight panels, beadboard, or tiles that glue or fasten to furring strips. These options skip dust, while neat layout and trim deliver a clean, intentional design.
A shiplap-inspired treatment delivers warmth and shadow lines with simple boards. Pre-finishing the boards speeds work, because touch-ups stay small. If you want flexibility, consider a shallow grid that accepts paintable tiles. It hides wires and access later stays simple, which helps when lighting plans change.
Many guides share seven cover-up ideas when scraping feels like too much. Choose the finish that aligns with your budget, timeline, and tools on hand. While you compare paths, set one rule: do not trap problems above the surface. The best fix keeps your popcorn ceiling story safe.
Why smart planning turns a messy job into lasting value
Small choices add up quickly when you work above your head. Confirm safety, stage supplies, and move in patient steps, and the mess stays contained while energy holds steady. Whether you scrape or select a clean cover, a careful method upgrades light, comfort, and resale. Handle your popcorn ceiling well, and sweat returns a smoother, brighter home that rewards everyday living. Because the ceiling sets the first impression, work here lifts every room below.